
Our other belly bands were used around the boxes that help our wedding invitations. We loved the look of our invitations being boxed and highly recommend for others to use the same idea. However, we will warn you that it is not the cheapest invitation option and will increase the cost of postage to about an additional $2 per invitation sent. You aren't really here to hear about the cost of our invitation postage though are you? Back to how to make our other belly bands....
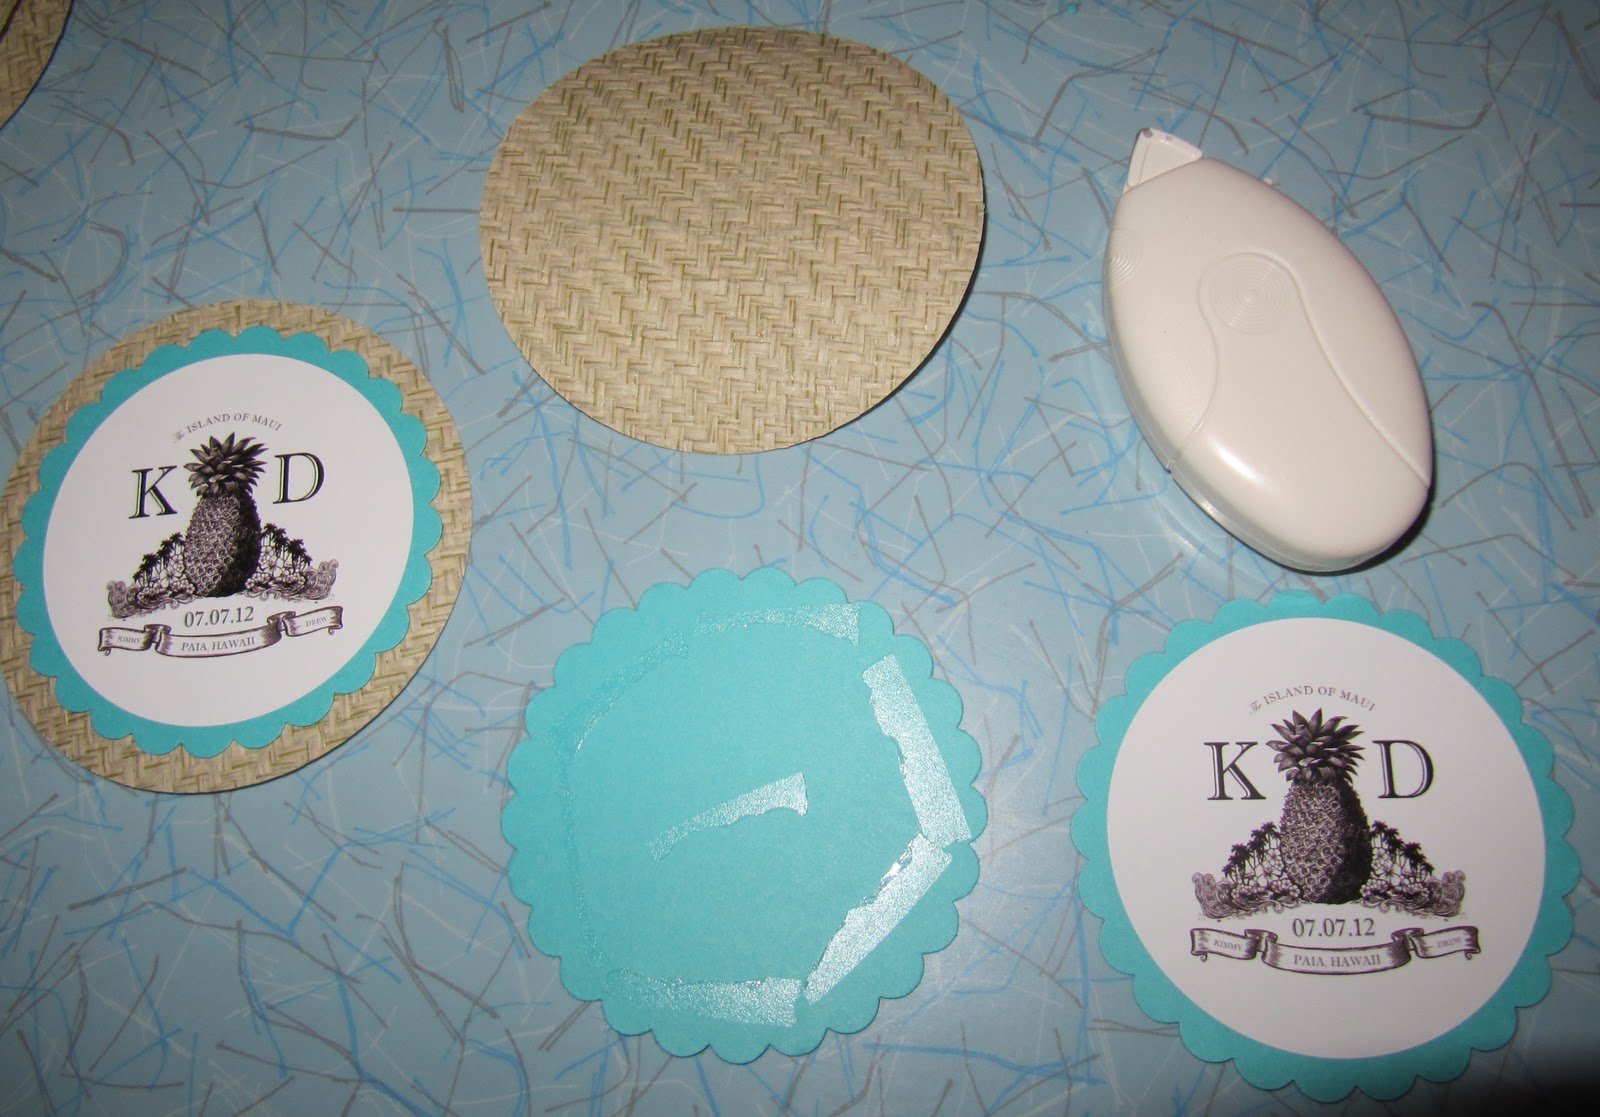
First I used a circle cutter to cut large circles out of the same sea grass paper I used for the other belly bands. You can get all kinds of different circle cutters from many different places. I picked this one up at Michael's Arts and Crafts.

Once I had all of the circles cut out, I then punched scalloped circles out of card stock paper in one of our wedding colors. I had large round labels printed up with our main wedding logo at Vistaprint and stock them on free-hand style into the center of each scalloped circle.

I attached the scalloped circles to the sea grass circles using a two sided adhesive tape that I also picked up from Michael's. I pressed them down really hard to make sure that the scalloped circle would adhere to the sea grass circle.
I love the way these turned out! What do you think?

Next I made the ribbon bands. To do this I used ribbon in one of our wedding colors, Velcro, a hot glue gun, scissors, tape, a lighter and the circles I made in the steps above.

In order to cut your ribbon so it doesn't fray and look sloppy, you will want to place a piece of tape on your ribbon where you plan on cutting. Cut down the center of the ribbon. You will now have the ribbon taped on two different sides. I cut all of my desired length ribbon pieces at one time to make it easier. Once I was done with that, I very carefully removed the tape from the ribbon making sure to not fray any of the edges.

The next step is a little tricky You will need to be sure to use extreme caution while doing this, but it will be well worth it and make your ribbons look so much better! No one wants to open their beautiful belly band to see frayed edges. Very carefully, run the ribbon back and forth along the flame of your lighter. This will melt the ends of the ribbon creating a seal that will keep them from fraying.

I placed the sqaures of velcro I had already cut out on each end of the ribbon. The scratchy side of the velcro was stuck on the inside of one end of the ribbon and the fuzzy piece was stuck on the outside of the other end of the ribbon. You might have to play around with this a little bit to see where the placement of the velcro is going to work best on your belly bands. The nice thing about using velcro is that if your wedding guests go to break open the band instead of sliding it off, it pops right open and they can hook it back together.

Once the ribbon was folded togethr for both ends to meet it created a band.

I put a large dot of hot glue on each ribbon and pressed the circles onto the ribbon. Make sure not to put too much hot glue on the ribbon or else it will push out the sides and doesn't look very good. It can also burn you. Hot glue is very hot! Be sure to be careful when you are working with it.

Whoola! Gorgous belly bands! Very happy with how they turned out.

Last, but not least, the belly band around the invitation box. Makes them look even better! They really pop next to the wred, out other wedding color.

If you have any questions on how to make these belly bands, don't hestiate to ask. Did you make belly bands for your wedding invitations? Did you find them to be easy or difficult to make?
All photos are personal photos and cannot be used without permission. Mahalo!
No comments:
Post a Comment